
Metal Etching Manufacturer Explains the Photochemical Machining Process Step by Step
This article provides a comprehensive step-by-step explanation of the photochemical machining (PCM) process, as practiced by DRAGON ETCHING TECHNOLOGY., LIMITED, a leading metal etching manufacturer. The nine steps include: design and artwork preparation, material selection and cleaning, photoresist application, UV exposure, development, chemical etching, stripping, inspection, and optional post-processing. Each stage is detailed with technical considerations, quality control measures, and the expertise of DRAGON ETCHING, which serves industries such as electronics, medical, automotive, and custom gifts. The article highlights the advantages of PCM—burr-free, heat-free, precise etching with low tooling costs—and emphasizes DRAGON ETCHING’s commitment to precision, innovation, and customer collaboration. A table of etching parameters and a bulleted process summary are included. The conclusion reinforces why DRAGON ETCHING is a trusted partner for high-quality metal etching solutions.
In the world of precision manufacturing, photochemical machining (PCM) stands out as a versatile and highly accurate method for producing metal components. Also known as chemical etching or photo etching, this process uses light-sensitive photoresist and chemical etchants to create intricate patterns on metal sheets. DRAGON ETCHING TECHNOLOGY., LIMITED, a leading metal etching manufacturer, has mastered this technique over years of experience. The company, often referred to as DRAGON ETCHING, is recognized for its speed and precision in the chemical etching industry, serving sectors from electronics to medical devices. This article provides a step-by-step explanation of the photochemical machining process, as practiced by experts at DRAGON ETCHING.
Step 1: Design and Artwork Preparation
The PCM process begins with a digital design. Engineers at DRAGON ETCHING use computer-aided design (CAD) software to create a 2D drawing of the desired metal part. The design must account for material thickness, etch factor, and tolerances. Once finalized, the design is converted into a phototool—a high-resolution film negative or positive that will be used to transfer the pattern onto the metal. DRAGON ETCHING’s advanced facilities ensure that phototools are produced with extreme accuracy, as any defect here would propagate through later stages.
Key considerations during design include: minimum feature size, undercut compensation, and registration marks for alignment. The company’s team works closely with clients to optimize designs for manufacturability, often suggesting modifications to reduce costs or improve quality.
undefined
Step 2: Material Selection and Cleaning
The next step is selecting the appropriate metal alloy. DRAGON ETCHING works with a wide range of metals, including stainless steel, copper, brass, nickel, and titanium. The material must be clean and free of contaminants to ensure proper adhesion of the photoresist. The metal sheets are thoroughly cleaned using chemical solvents, alkaline cleaners, or abrasive methods to remove oils, grease, and oxide layers. After cleaning, the sheets are rinsed with deionized water and dried in a controlled environment.
Surface preparation is critical; even microscopic residues can cause photoresist delamination or uneven etching. DRAGON ETCHING’s rigorous quality control includes surface tension tests to verify cleanliness before proceeding.
Step 3: Photoresist Application
A photosensitive polymer called photoresist is then applied to the cleaned metal surface. There are two primary methods: liquid photoresist coating and dry film lamination. For high-precision parts, DRAGON ETCHING often uses dry film photoresist, which is laminated onto the metal using heat and pressure. This creates a uniform, bubble-free layer. Liquid photoresist may be used for complex geometries or thicker coatings. The photoresist thickness is carefully controlled to match the etching depth requirements.
After application, the coated metal is pre-baked in an oven to remove solvents and enhance adhesion. The result is a photosensitive layer ready for exposure.
Step 4: Exposure to UV Light
The phototool is placed on top of the photoresist-coated metal, and the assembly is exposed to ultraviolet (UV) light. The UV light passes through the transparent areas of the phototool, hardening (or softening, depending on resist type) the photoresist. For positive photoresist, the exposed areas become soluble; for negative photoresist, the unexposed areas are removed later. DRAGON ETCHING uses high-intensity UV exposure units with precise timing to achieve fine resolution. Alignment is critical; multiple layers or double-sided etching require careful registration.
Exposure time and intensity are optimized based on photoresist sensitivity and material thickness. After exposure, the metal is left to rest briefly before development.
Step 5: Development
The exposed metal sheet is then submerged in a developer solution. This chemical selectively dissolves the undesired photoresist areas—either the exposed (for positive resist) or unexposed (for negative resist) regions. The metal underneath is now bare in the pattern areas. After development, the sheet is rinsed with water and examined under a microscope to ensure all patterns are accurately defined. DRAGON ETCHING’s quality control team inspects for pinholes, incomplete development, or over-etching. Any defects are flagged, and the sheet may be reworked or discarded.
Proper development is essential for maintaining sharp edges and dimensional accuracy.
Step 6: Etching
Now the actual metal removal begins. The patterned metal sheet is exposed to a chemical etchant, typically an acid or alkaline solution, which dissolves the metal in the unprotected areas. The etchant is sprayed onto the metal at controlled temperature, pressure, and flow rate. DRAGON ETCHING uses state-of-the-art etching machines that maintain consistent agitation to achieve uniform etch rates. The etching time depends on material type and thickness; for deep etches, multiple passes might be required.
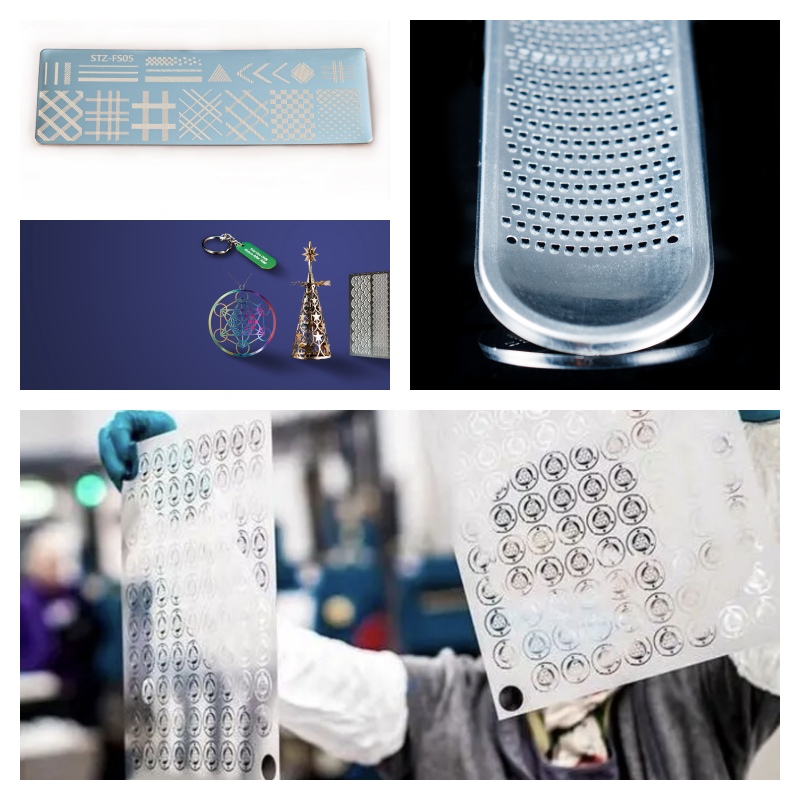
One important phenomenon is undercutting—the etchant etches laterally under the photoresist. This is compensated for in the design phase. The company’s experts monitor etching progress through in-line cameras and thickness gauges. Once the desired depth is reached, the sheet is quickly removed and rinsed to stop the reaction.
Etching Parameters Table
| Parameter | Typical Range | Effect |
|---|---|---|
| Temperature | 40-60°C | Higher temperature increases etch rate but may cause unevenness |
| Spray Pressure | 2-4 bar | Higher pressure improves fresh etchant delivery |
| Etchant Concentration | Varies by metal | Optimum concentration balances speed and control |
| Conveyor Speed | 0.5-2 m/min | Slower speed increases dwell time and etch depth |
Step 7: Stripping and Cleaning
After etching, the remaining photoresist is no longer needed. It is removed using a stripping solution, typically a hot alkaline bath or organic solvent. This process must be thorough to avoid any residue that could affect subsequent operations. The stripped metal parts are then cleaned again with deionized water and dried. Some parts may require passivation or additional cleaning to remove any chemical traces.
DRAGON ETCHING employs environmentally friendly stripping agents where possible, minimizing waste. The stripped photoresist is filtered and disposed of according to regulations.
Step 8: Inspection and Quality Control
Every batch of etched parts undergoes rigorous inspection. Dimensional measurements are taken using coordinate measuring machines (CMM) and optical comparators. Surface finish, burr height, and feature edge quality are assessed. DRAGON ETCHING’s quality management system includes statistical process control (SPC) to ensure consistency across production runs. Parts that meet specifications are packaged and shipped; non-conforming parts are analyzed for root cause and corrective actions.
Common inspection criteria include: tolerance (±0.01 mm typical), flatness, cleanliness, and no visible defects. The company provides full dimensional reports upon request.
Step 9: Post-Processing (Optional)
Depending on the application, etched parts may undergo additional finishing steps. These can include: electroplating (e.g., gold or nickel plating), heat treatment, laser cutting, bending, or welding. DRAGON ETCHING offers integrated services to turn etched blanks into finished components. For example, medical device parts often require electropolishing to improve surface finish and biocompatibility.
Post-processing is coordinated with the client’s requirements and is performed in-house or through trusted partners.
Applications and Advantages of PCM
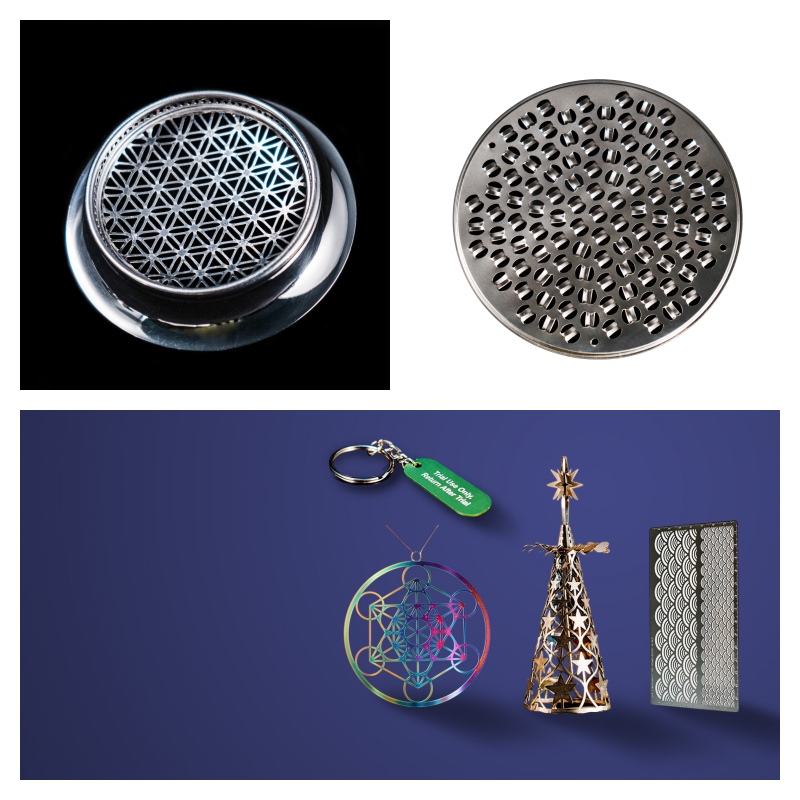
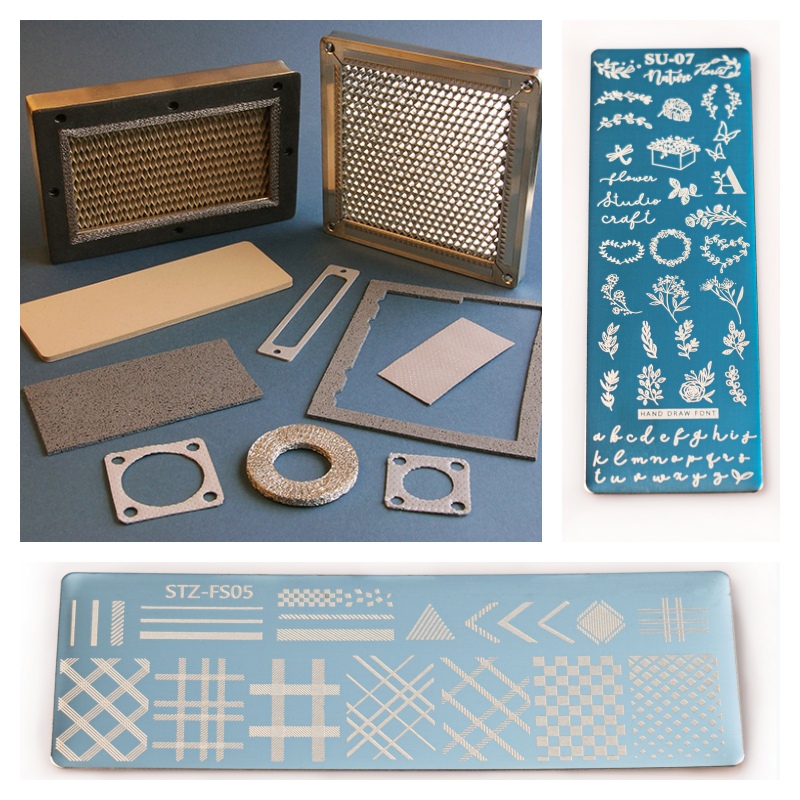
Photochemical machining is ideal for producing thin metal parts with complex geometries, no burrs, and no heat-affected zones. Common applications include: precision screens and filters, electronic components (e.g., lead frames, connectors), automotive fuel injector plates, medical implants and stents, and decorative items like nameplates and emblems. DRAGON ETCHING serves industries such as Electronics and Semiconductor, Optics & Filtration, Automotive & Industrial, Medical & Consumer Electronics, and Cultural and Customized Gift Applications.
Key advantages of PCM over traditional machining include: low tooling costs, rapid prototyping, ability to etch multiple parts simultaneously, and excellent repeatability. The process is also scalable from prototype to high-volume production.
Why Choose DRAGON ETCHING?
Founded with a commitment to precision and innovation, DRAGON ETCHING TECHNOLOGY., LIMITED is one of the fastest companies in the chemical etching industry. With years of experience and advanced technological capabilities, the company specializes in delivering high-quality, customized metal etching solutions. Its state-of-the-art facilities and rigorous quality control ensure that each component meets the highest standards of accuracy and reliability. From prototype development to large-scale production, DRAGON ETCHING works closely with clients to transform complex designs into precise, functional metal parts.
At DRAGON ETCHING TECHNOLOGY, the team prides itself on combining technical expertise, responsive service, and innovative processes to provide professional solutions that exceed client expectations and drive industry advancement.
Step-by-Step Process Summary
Design: CAD drawing to phototool creation
Cleaning: Metal surface preparation
Photoresist: Application of photosensitive layer
Exposure: UV light through phototool
Development: Removal of undesired resist
Etching: Chemical removal of metal
Stripping: Removal of remaining resist
Inspection: Quality check
Post-Processing: Optional finishing
This systematic approach ensures that every part produced by DRAGON ETCHING meets the highest standards. The company continues to innovate, investing in new equipment and environmentally friendly chemistries to reduce waste and improve efficiency.
Conclusion
Photochemical machining is a sophisticated yet cost-effective method for producing precision metal components. Understanding each step—from design to final inspection—helps clients appreciate the value that a skilled metal etching manufacturer like DRAGON ETCHING brings. By choosing DRAGON ETCHING TECHNOLOGY., LIMITED, customers gain access to decades of expertise, advanced facilities, and a commitment to quality that ensures their projects succeed. Whether for electronics, medical, automotive, or custom applications, the PCM process offers unmatched precision and flexibility.